4. Fitting your content to the available surface of your scientific poster
Topic: Learn how to automatically make your content to fit exactly into the available poster surface.
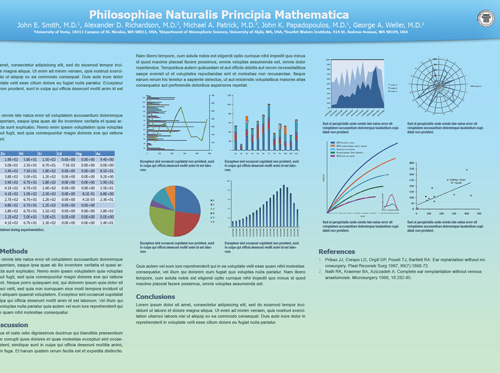
You have created your poster and notice that your content occupies a smaller surface than the available dimensions, resulting in some empty space at the bottom of the last column.
Spot the Poster Optimizer in the toolbar.
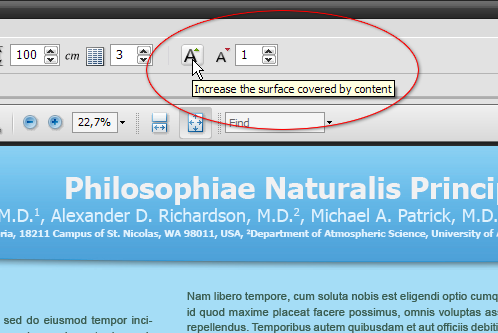
The Poster Optimizer consists of two controls and a text field. The first control increases the surface occupied by your content, while the second decreases it. The value field represents the step by which this change is applied. For example using a step of 1 and an increase, you increase the surface covered by your content by just a little. This is ideal if your content leaves just a tiny bit of space in the end of the last column, uncovered. Similarly, use a step of 3 or 4 if you would like a bigger increase in the surface covered by your content.
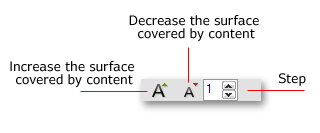
If the empty or unused surface at the end of your poster is small as in this example, use a step of 1 and click on "Increase…". If the empty surface is larger your may use a higher step value.
Notice that the space occupied by your content has increased perfectly filling the poster surface.

Related tutorials
Note: To view the tutorials you will need Adobe Reader or any other application that can open PDF files.
Adobe Reader is available for free download from Adobe Systems, Inc.: www.adobe.com


